Monday, March 31, 2014
April Stamp of the Month Blog Hop
It’s a FUN stamp set that has so many possibilities!
But before we get started, I want to thank everyone who’s hopping through the monthly blog hop. If you’re a hopper, welcome from { Maria’s blog },
I’ve been using a lot of the spring floral papers but it’s time to move on to the summer Jubilee paper pack. I wanted a quick card that would showcase all 6 papers and showcase the fairly new scallop punch.
Here’s my quick card that I came up with. I love simple cards because I can use them in my monthly card classes too! I love being able to create one piece of artwork and reuse it throughout the month for workshops and quick notes to customers.
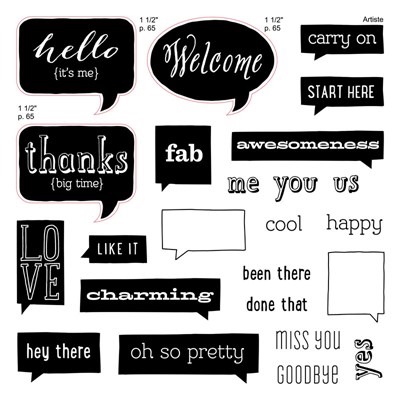
Look at all the fabulous words and shapes you can choose from! I can’t wait to play and hook a few of the words together for some fun sentiments!
Now hop over to { Krista’s blog } to see her creation!
Stop back here and checkout my Facebook Page for current events and even more artwork!
P.S. Come back and see how I get perfectly cut word bubbles on my Cricut! That will be in the next post!
Friday, March 28, 2014
Floating Your Fancy
Get the most out of your Cricut® Artbooking cartridge with these fun home décor ideas. You and your customers will love these unique ideas to use Artbooking cutouts to create decorative floating frames and functional message boards for your home. These quick and easy projects are pretty and practical—the best kind of craft!
Click here to watch it on YouTube
This is an amazing cartridge! It’s not just for scrapbookers! Click here to see more and to order the Artbooking bundle from my website.
Saturday, March 22, 2014
Love you a LATTE!
I created this card using the free cut file of the week at MyScrapChick.com. Usually you can only get these files when you sign up for their weekly newsletter. They had a little glitch in the newsletter so the link is posted on their Facebook Page. Run, don’t walk over there and grab the file! If you don’t grab it before 3/27, you’ll find it on their dollar download page.
This file is for any cutting machine except the regular Cricut machines unless you have SCAL 2. It’s Cricut Explore compatible!
While you’re there, sign up for their newsletter and like their Facebook page while you’re at it. I don’t think I’ve ever posted on of their projects on my blog before but they have a special place in my heart. They’re right up the road from me!
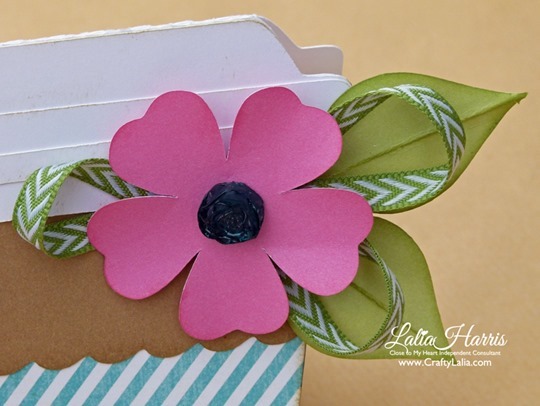
I used my Close to My Heart papers for this cup. I LOVE the lagoon stripes in our Skylark Collection! I also used Desert Sand, Cotton Candy, and Sweet Leaf Cardstock and matching inks when I inked the edges of the paper. The flowers and leaves don’t come with their file. You’ll find them on the CTMH Art Philosophy Cricut Cartridge.
What better than to use our Cup of Cheer Stamp set?
It was also used on the inside of the card.
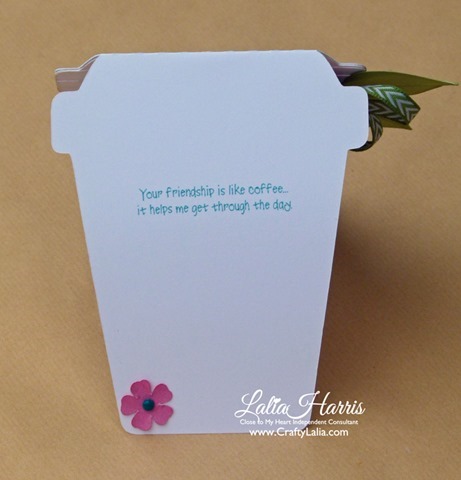
I had fun adding some giant flowers to the card. This would have fit into a standard A2 card if I hadn’t went crazy, BTW…
I used our Topiary Mini Chevron Ribbon and Teal Base & Bling collection. Cloudy PNW skies really don’t capture how fun these jewels are.
You can find all the supplies you need on my website. Have a great day!
Thursday, March 20, 2014
Emboss It Blog Hop
To follow this hop, you can start here and click the link to the next blog at the bottom of my post. If you’re already on the hop, welcome! You should have arrived here from { Michelle Jones’ blog. } If you’re ever lost along the way, you’ll find a list of all the blog posts here. (this will pop open in a new window and then you can come back here and keep hopping too!)
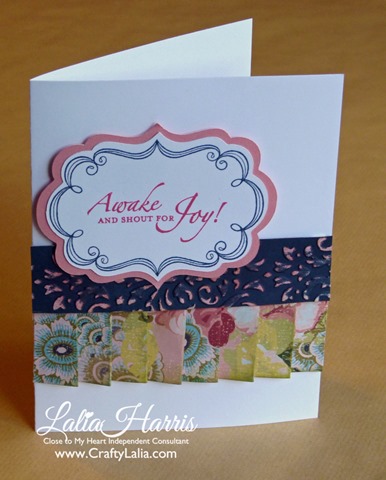
My card features the Ariana paper collection. I started by pleated the beautiful floral paper by scoring it at 1” and 1/2” intervals and folding it. I followed this tutorial from Splitcoast Stampers nearly exactly.
Here’s a couple of my tips:
- If you’re going to make several of these cards, score the whole paper from top to bottom before cutting the strips. You might even want to fold them a bit too. Folding a large sheet is ultimately easier than folding 6 individual 2” strips!
- Ink the bottom edge of my paper before folding (& attaching it to the card)! I used Garden Green, a retired color since Olive was a bit too dark.
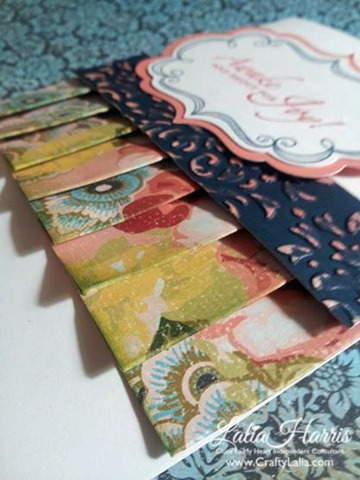
Next is the embossed band that holds the pleats in place and gives them a finished look. I cut my 1 x 4.25” strip and embossed it with our damask embossing folder. I distressed it using our sanding block from the distressing kit to take the color off the raised edges. Here’s the fun part: I then inked the white exposed areas with Blush and Sorbet ink. The coral color is exclusive to the Ariana paper pack so we don’t have an ink that matches. This worked! Use a light hand when inking. Don’t saturate the paper or it will be very intense and bright.
For the label, I cut the shape from Art Philosophy in White Daisy at 2.25” as indicated on the Frame Flair stamp set. The sentiment is from Greatest Love.
For the Ariana Coral label that shadows the white, I used my Gypsy (It can also be done with Cricut Craft Room or Cricut Design Studio) to make it .25” wider AND taller. It was also handy to layout the shape on my Gypsy since I only have 1 sheet of this beautiful Ariana Coral to work with.
If you just bump up your Cricut dial to 2.5” your label be a little disproportionate because it won’t be just .25” longer. On this label, it’s not that much trouble. (Just call me Obsessive Compulsive Cricut Perfectionist)The less square the shape is, the more noticeable it is. You might thank me later when you do a skinny object.
Here’s where you’d see the distortion, on a long, skinny shape. The less square shape.

So much for a simple looking card that had a pleated paper tutorial, embossing & distressing in one and a Cricut Craft Room tricks. But guess what, we’re done!
Feel free to hop on over to { Katy Taylor’s blog } to see the next project!
Have a great day!
Monday, March 17, 2014
3D Box Card with Balloon Ride
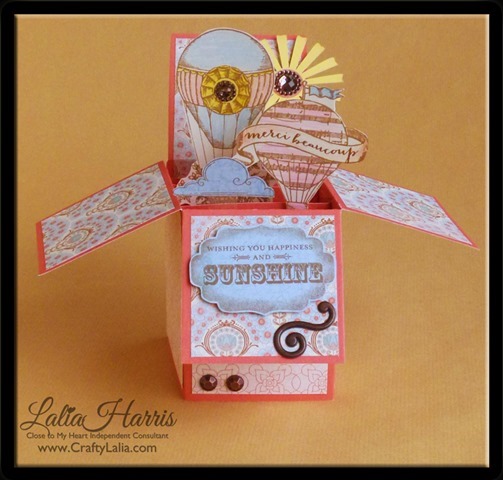
Have you seen these 3D box cards? They’ve been very popular since Splitcoast Stampers released their tutorial on the first of January this year. I finally had a chance to make one a week ago. They’re quite fun and simple to make! If you’re worried that this is as complex as the 3D cascading card I made last year, it’s not! There’s no fancy angles or a million pieces to stamp and adhere to the card.
I created this card from the Balloon Ride paper pack and the matching Give A Lift stamp set and Lifting Spirits stamp set.
I used my watercolor pencils to color in the hot air balloons. They pencils have the soft color that I was looking for. I used our original blending pen to soften and erase my pencil strokes . The clouds are from the Give a Lift stamp set. I stamped them on the blue paper and cut them out. The crystal blue paper is on the opposite side of the paper that covers the flaps. I love how CTMH gives us a variety of solid and bold patterns in our papers. The sun is cut from Artbooking. All of the embellishments are from the Rosewood Accents Mini-Medley collection.
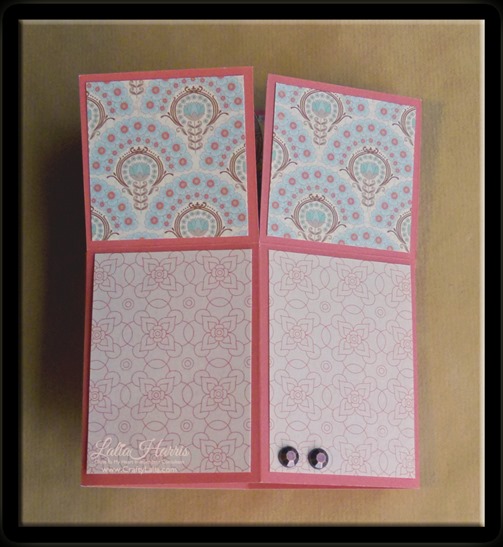
Did you realize that this card can be mailed with a little extra postage? It folds flat.
Mine didn’t want to cooperate for the camera but it will flatten enough to fit in an envelope. The flattened size is 5.5” wide and 6.5” tall as created by the tutorial on the Splitcoast Stampers website. I plan to modify this to be under 6” tall so it can fit in a 6x6 envelope. (I’ll just make the base a little shorter). You’re most likely going to pay extra for postage for the bulkiness and the embellishments, there’s no need to shy away from a square envelope at this point!
I’m going to be making a few more of these cards this spring. We’ll be making a different one in my Fun & Fab 4th Friday card workshop on April 25th! You can pre-order a workshop kit-to-go up until the day of my workshop. Email me for details. The workshops consist of 5 unique cards and are $18 shipped, with everything pre-stamped and pre-cut. You’ll receive a $5 discount if you are a member of my Fabulous Friends CTMH team or place an order over $25 prior to the workshop!
Let me know if you make this card. I’ll post a pic of your work!
Monday, March 3, 2014
LEGO ™ style birthday card
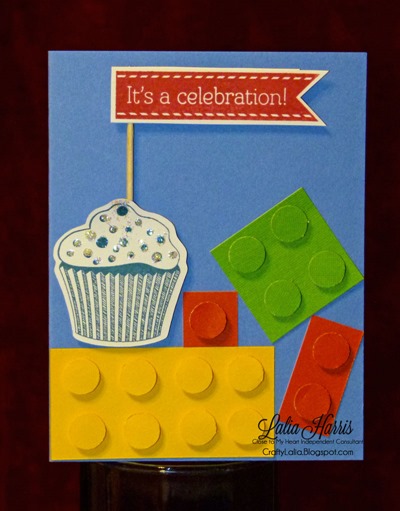
Do you recognize the “It’s a Celebration” stamp? It’s a brand new stamp and it has NOT been featured in an Idea Book. It was a gift to our Aussie consultants this spring. They were so popular and fun that we begged CTMH to let us us them as well! It’s from Hoppy Birthday D1597. It’s one of 6 sets found in our Occasions stamp collections that were made for our Down Under friends.
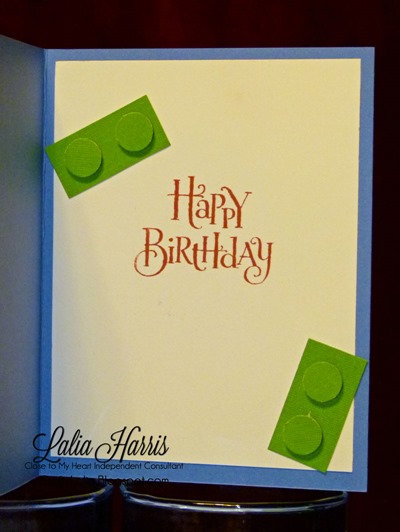
Here’s the inside of the card. More blocks and a simple Happy Birthday sentiment from our Joyful Birthday stamp set which is one of my favorites from last spring.
I can’t wait to play with this Hoppy Birthday stamp set more and color some adorable animals!
I've linked this up to Fabulous Cricut Challenge Blog, Challenge #200: Pick A Holiday. Hop over there and see some other great projects! I was inspired to join this challenge by Amy HS and her birthday card. Take a look, she's one of the designers for this blog! Go Amy!
Have a great start to your week!


