Saturday, September 23, 2017

Mo' Christmas Cards

This is my 4th blog post in a week!  There must be a big holiday coming up!

September is National Stamping Month and we have these amazing gold foil easel cards. 
With all that shimmer, I knew I needed to make them into Christmas cards.


I added a bit of Cranberry Cardstock and a couple poinsettias from the Flower Market Cricut Cartridge.  

It would also look amazing with a family photo on the front.  


And our Gold Glitter Gems.  Lots of Gems!  Two big ones on the flowers and 2 smaller ones on the card to complete the "Visual Triangle" that makes art look so stunning and complete.

Want to make these cards?  We have to order the gold foil card kit of a dozen cards in SEPTEMBER!

I'll be offering these cards at my Christmas Card Workshops and Crafter Afternoons in October and November.  BUT orders must be placed in SEPTEMBER.

See events on my Facebook page (even non-Facebook users can see them!)  

Thursday, September 21, 2017

Tis the {Football} Season


It's that time of year again!  It's time to be thinking about colors and season and what we're going to wear and who we're going to invite and I'm not even thinking about December.

It's Football Season!  In Washington State, we love the Seahawks.  Actually, they are loved around the world.  And this year, Close to My Heart released double sided cardstock that is lighter on the "back side."  And viola!  The Willow Cardstock is a Lime Green.  And that brought out my Seahawk Fever again.  

All of these tags were cut using Close to My Heart Cricut Cartridges.  Artiste, Artbooking, Art Philosophy, Artistry and the brand new You Are Here.  I hope you love and have them all!

It's also wonderful that we have this new Silver Foil paper (also available in Gold) that cuts like butter on the Cricut!  Every tag has some Silver Foil so no embellishments were needed on these tags.  I don't care for embellishments on tags in big mountain of presents.  They seem to travel from package to package.


After I made the tags, I used the same shapes for some cards with quick Sentiments.  Several of these sentiments are from the stamp set that come with the Artfully Sent Cricut Cartridge bundle.  It was retired last year but there's still a few in stock.  


I had some fun with some older stamp too.

The "With Sympathy" is part of the Heartfelt Thoughts set but the "Sorry For your Loss" is an oldie.


Want to make some?

Everything is pre-cut so you can create them at one of my Christmas card workshops or make them on your own.

12 tags are $8/per kit
12 cards are $16/per kit

Kits are ready to assemble, just add adhesive and 3D Foam!  Cards will include envelopes and a variety of pre-stamped sentiments unless you specify. Tags will come with Whisper Twine.

I can ship kits in the US!  Contact me with your zip code so I can calculate shipping and I'll get you a total and send you a PayPal invoice.  Shipping will be $3-7, depending on what you order.  If you order cards, when we chat, you can specify which sentiments you want on your cards.

Sorry, no there's PayPal button this time.  You have to talk to me; I'll get back to you in a day.  It will be easy!

If you have the Cricut Cartridges and and want to DIY this kit, you can order the Cricut Design Space File and a cutting guide for the cards for $5 via PayPal.


Have a great day!


Wednesday, September 20, 2017

Little Dreamer Be A Unicorn


Were you been bitten by the unicorn craze?  It's been everywhere since this spring.

And guess what?  We still have a few unicorns left!  

Our Little Dreamer papers & stamps are perfect.  Cute and with a little attitude!  


This fun card with the very dapper unicorn used a few embellishments from my stash.  I also liked to highlight the word "unicorn" in the sentiment using a star or crown stamp, "Always be yourself.  Unless you can be a Unicorn.  Then be a Unicorn."


This card is pretty much the same as the previous one but turned.  I did use the thin cuts to cut out the star and unicorn but the paper was exactly the same!  I still have a few of these kits in my ready to create card bin.


Hop on over to my website to see the stamps with Thin Cuts dies and the bulk paper (The one that features the Unicorn!!!) available to everyone.  The regular paper pack did sell out, but the glitter gems, Scrapbook Complements and much of the collection is still available!


Tuesday, September 19, 2017

Christmas Cards Made Easy

I love hand made Christmas cards!  And I love having them done in advance of the holidays even more!

But sometimes, October and November are just as busy as December. I know this will be an issue for our family as we're signed up for a season of outdoor team sports this fall for the first time ever.  ((What was I thinking???))

But breathe.  These cards are amazing and so easy to assemble!  They beautiful just the way that Close to My Heart designed them.  But of course, I had to make them sparkle and shine just a bit more.


Introducing the Cut Above Merry Everything Card Kit.  In real life they aren't as washed out as the image in the kit but they're not quite as dark as they photo of my finished card.  They're much more balanced.


It contains the envelopes, pre-printed card base (saves you on bulkiness of your project) and ready to stamp circle with a gold foil outline.  

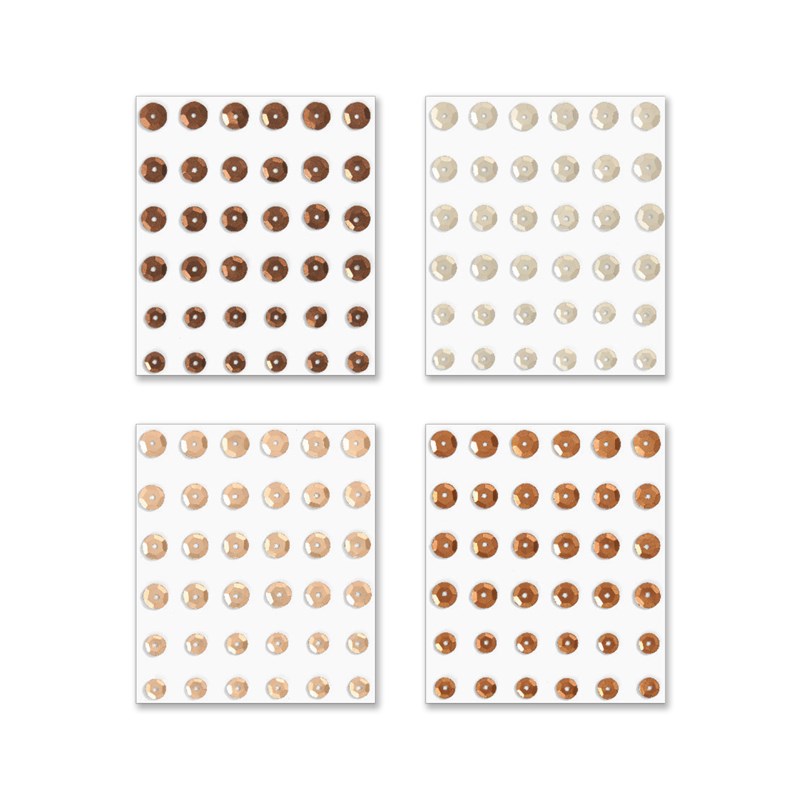
I added Bitty Sparkles, our amazingly brillianlt 2.5mm gems, and the new Bronze Sequins.
These packages of bling should be enough to embellish 2 packages of our 10 card kits just fine.

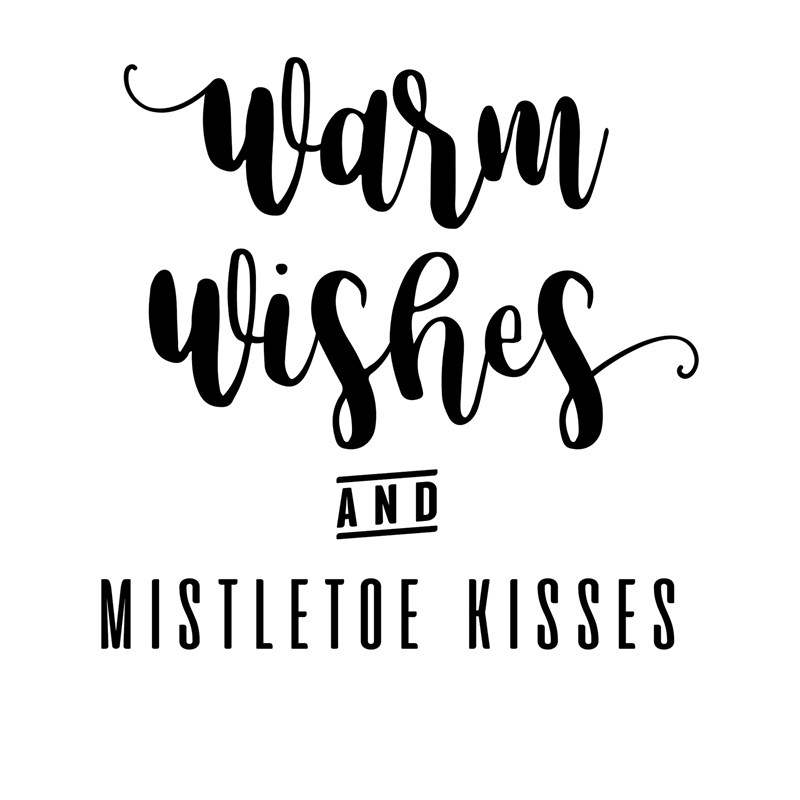
I used the Mistletoe Kisses stamp set M1182 with our new warm Nutmeg Brown ink to complement some of the stems in the greenery.  
 
Don't forget the Thin 3D Foam tape. It adds the perfect dimension without bulk to cards.  And it's Postmaster friendly for mailing!  

Want to come hang out and make these cards in October?  Place your order (or call me with your order) and bring them to one of my events.  I have events on Sunday, October 1, 2017 or Saturday evening of October 14, 2017.  You can find all of my Crafter Afternoon or Christmas Card evens on my Facebook Events page.  

(More card kits are coming!)


Sunday, September 17, 2017

It's National Stamping Month!


It's September and it's National Stamping Month.
This year Close To My Heart has out-done themselves in this year's September Exclusive!
Gold Foil Cards!  They pop up to be an easel stand when opened.  If you know me, you know I love "engineered" cards and they are amazing.  And Well Engineered.

And stamps!  Our Double D set is really and E sized stamp set and one half has large heartfelt sentiments and simple flowers.  And then the other... if you are a happy stamper and love to mix and match and play, this one is for you!  If you love to mix colors, do second generation stamping and lots of details, you'll love this one.  There's stems, leaves and layers and layers of petals for you to create amazing flowers.

The best part is that you can buy as little... or as much of any part of this set!

The bundle, 12 cards and envelopes ready for you to fold and put together with the whole E sized stamp set is just $34.95

The stamps are $29.95

The 12 foil cards, complete with all the papers and envelopes are $13.95.  

The best value is to order the bundle and an extra pack of cards to keep creating.

How about using them for Christmas?


As promised, they fold flat for mailing!


Or use them with this month's amazing Stamp of the Month which is $5 with a $50 order!


Be sure to check my Clearance Section of my website this month too!  There's recently added items that are up to 75% off!

Monday, June 12, 2017

Fidget Spinner Card

With fidget spinners being all the rage, I just *had* to make a fidget penny spinner!


This is the card I created for my son's birthday last week. I used the long retired Confetti Wishes blue paper and the new Willow Cardstock to give a Seahawks vibe!  

Creating in birthday - stealth mode, I didn't create a video, but a slideshow from still shots I took so he wouldn't hear me talking.  If I say "fidget," his ears perk up.

I used Sway, a Microsoft Office product, for this slideshow.  It was pretty simple to create but it appears that you'll need to manually click through it.  It will take a few seconds to load.  I'd love to know how it plays.  I actually thought it would export to an MP4 so I could upload it to a video.  


This is the link to the Design Space file that contains the slot.  The Fidget Spinner piece is an SVG file.  I cannot share this file if it contains the spinner because it's an uploaded SVG.  Use Detach prior to resizing.  Then click Attach again.  I didn't use Slice because I wanted the ability to adjust the size of the spinner hole.

This is the link to the Fidget Spinner SVG.  I sized it at 2.4" tall.  I also duplicated it and used the Hide Contour feature to hide all the inner circles on the black layer.

In reality, you can also use your paper trimmer to cut a rectangular slot with your paper trimmer.  Just make it about 1/16" taller than your foam dot.

Other penny spinners I've created:  This was a Stamp of the Month from May 2013!


And a round spinner with last year's Penelope paper


This is the link to the round slot.

All of these cards were designed using 3/8" 3D foam dots.  I used these dots.  They're 3/8" and 1/8" thick.  Some dots are super thick and make for a very bulky card.

You'll need plenty of 3D foam for making the layers.  DO NOT use the thin foam or you penny won't spin freely.  It's wonderful for cards, just not these cards.

I will be hosting a class making 3 of these cards, 2 slots & 1 circle style at my house on Tuesday, June 27th at 6:30.  I will also have kits and a video tutorial.  See my full list of classes here.  When you register, you can let me know if you have a preference on your spinner.  (Do they all need to be fidget spinners?)

With joy in my heart and coffee in my cup, have a wonderful day!


Thursday, June 1, 2017

A Foxy Hello

Happy June 1st!

Today I'm sharing with you a stationery folder I created using the new June Stamp of the month, Hello Foxy.


My kit is called A Foxy Hello because I don't want you to think that this is a romantic card kit.  
This stamp is just $5 with a $50 order this month.  Or $17.95 purchased on its own.  


I'm having a Crafter Afternoon on Sunday, June 25th at 3pm.  
Participants will create the folder and these 8 cards.  

I used my favorite colors, Cranberry and Lagoon to accent these cards.


This card folder and the cards were designed by Cassie Ingersoll using another stamp set this winter. She's a sister CTMH consultant in New South Wales, Australia!  If you are part of Naomi's Connected Hearts team, you'll find the instructions in the Connected Hearts Facebook Group in the files.  


To complete these cards I use our Shin Han Markers, Gold Sequins, Journaling Pen and Extra Thin 3D foam tape to complete the cards.   All images were stamped with Memento Tuxedo Black ink because this is the best ink for working with alcohol markers.  

When you attend my workshop, you'll get a Journaling Pen & a full pack of Extra Thin 3D Foam tape in your kit.  

When you attend this workshop, you'll be able to any of my sentiment stamps to customize this kit to your needs.  
This card used the Cherry Pink instead of Carmine.  Both will work! 

Foxy Hello Card Kit - $20 
All pre-cut kits include the following
Extra supplies needed to complete this project (if not attending workshop)
  • Shin Han Markers Carmine (red), Leaf Green, Vivid Green, Golden Yellow, Marigold, Turquoise Blue.  Tender Pink and Pastel Peach are optional as they're used minimally.
  • Hello Foxy Stamp Set S1706
  • Memento Tuxedo Black Ink


I blended Marigold with Pastel Peach for the foxes.  I also used Pastel Peach on the fox face.

There's three ways to get this kit
  1. Attend my workshop on June 25th. Cost is $20, RSVP with Payment by June 18.
  2. Request a pre-stamped kit, local pick up or shipped $22, shipping $6.
  3. Place a $55 order on my website that includes S1706 Hello Foxy and Extra Thin 3D foam tape. You can receive the paper portion + sequins of this kit for $10 shipped.  (Journaling pen and 3D Foam Tape will not be included.  Kit will be unstamped) 

Message me to receive a PayPal invoice or my address to send a check.  Kits will be shipped the week of June 26 if your order is placed by June 18th.  Kits ordered in June after the 18th will be shipped by July 15th.

With joy in my heart and coffee in my cup, have a wonderful day!


Friday, May 26, 2017

Going Green

Image may contain: grass, plant, text and outdoor

Welcome!  I'm actually doing a mini blog hop today.  You may have arrived from Amie's blog.  If not, you can see her post on the way back around the circle.

This month's blog hop with the "Blog Hops with Heart theme is green!  I think everyone participating today is featuring a different green which is so fun.

My green is Juniper.  It's a medium, dusty green that goes with so many colors.

Today's card is created with the new Jack papers that debuted earlier this month.

I love having masculine and woodsy papers of this sort.  Living in the Pacific Northwest nearly all of our vacations and family times are spent outside are woodsy.  Even if they are at the beach.

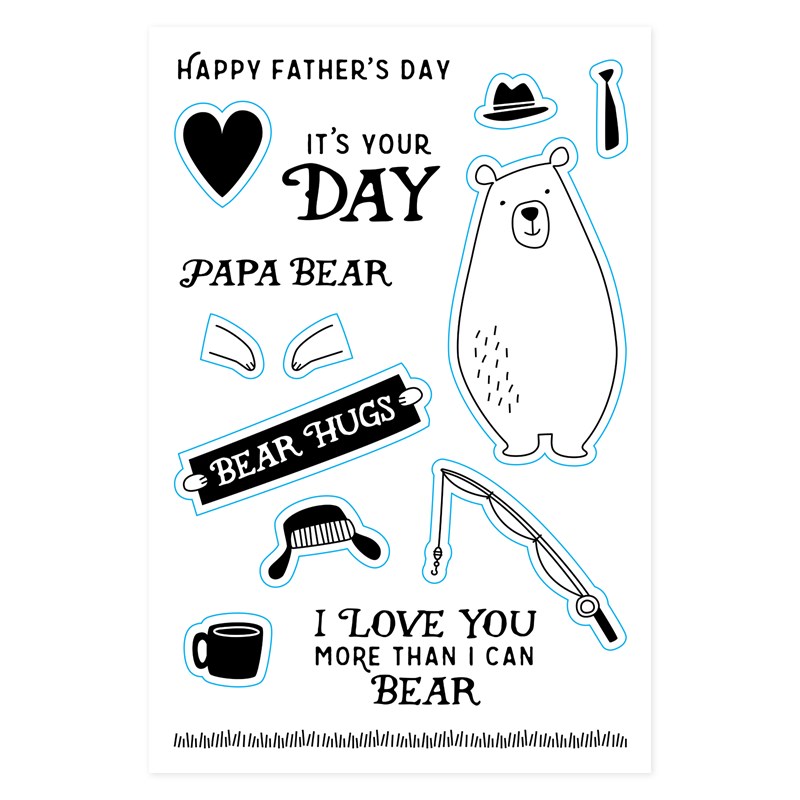
The Bear is just adorable.  And he comes with thin cut dies so there's no fussy cutting required!  AND his paws are separate stamps so he can hold practically anything.

I'm featuring this card in my June Card Kit and Workshop because there's Father's Day sentiments with this stamp set too!  (The workshop is next Friday at my home if you're near Everett, WA.) More details here for kits and the workshop.

This Double Z fold card is really simple to create.  It looks much harder.  It's the same as the Donut Z fold I created earlier this year, I just put the strip at the bottom of the card.  I have a full tutorial and video here.

And there's a coffee mug.  Stay tuned for coffee themed cards... Soon, I promise.

You can hop on over to Shelly's blog.

Or visit each stop individually.


Lalia  (that's me!)


With joy in my heart and coffee in my cup, have a wonderful day!


Thursday, May 18, 2017

Poo Emoji Card "Oh C..."

Yesterday morning I saw a trailer for "The Emoji Movie" that's coming out this summer.  Of course Poo is one of the characters in it.

I've known that the Artistry Cricut Cartridge has a shape that looks an awful like Poo so I hopped on Cricut Design Space, pulled up the Hot Chocolate cup (with whipped cream that looks like Poo) and went to work.


Now I've been trying to not say C-R-A-P so much lately so that's NOT what the inside of the card says.  

The outside of the card is stamped with the Ink Blot stamp in Tangerine.  It's a little more "pretty" looking in real life than I'm seeing it on my monitor.  This stamp is disappearing after a fun 2 years with CTMH as of July 31.  Grab it now!  


The inside of the card uses our Retired Sugar Rush paper and stamp. But GUESS WHAT???
There's still more of the Sugar Rush Stamp & Thin Cuts left in stock.  104 of them left as a few minutes ago.  Go... now!


Oh Cupcake!  
Donut know how I forgot your birthday!  


All of this card was created using the CTMH Artistry Cricut Bundle except for the cupcake wrapper which is from Art Philosophy.  I welded and designed it in Cricut Design Space 3 (beta).  This new update is fantastic for working with fonts.  

So go!  
Grab your Sugar Rush Stamp Set & Thin Cuts now.  My son thinks these dies are the coolest ever because one is shaped like a Pokeball from Pokemon!

When you place an order , you can opt in to receive a FREE Seasonal Expressions 2 Catalog.  There's tons of amazing goodness coming!  If I don't post here, you'll see it on my Instagram or Facebook Page.  


With joy in my heart and coffee in my cup, have a wonderful day!


Monday, April 17, 2017

I'm Hooked On You

Do yo have any fishermen in your life?  Here's two amazing cards for you tonight using the Hooked On You stamp set B1535.


This stamp set was introduced last fall in the Annual Inspirations catalog so it may not be around through this summer.

These beautful cards were created by sister consultants Jennifer Palmer (left card) and ???.  I don't have her name.  Hopefully I'll be able to update this post with her name soon!

With joy in my heart and coffee in my cup, have a wonderful day.
Lalia

Saturday, April 8, 2017

Triple Time Stamping with Live Beautifully

Hello and happy Saturday!
I'd love to introduce you to triple time stamping and give you a peek at the stamp and papers that will be featured next month!

This is a technique where you stamp on 3 layers of paper at one time.  Hence the name of Triple Time.


It looks more complicated than it really is which is my favorite part.

On this card, I used the Live Beautifully stamp set for the May 2017 National Scrapbooking Day (or Month) campaign from Close To My Heart.  When I first saw this stamp set I knew it would be great for this technique.  I like to use a large, fairly solid stamp for this technique because it does require me to push hard to stamp across the 3 layers of cardstock.  Usually I tell my friends, "don't perform CPR on your stamp (press down so hard on the stamp that it requires both hands).  You'll crush it and it and the image will be blurry."  In this technique, you want a sturdy stamp.

The stamp set used on this card will only be available May 1 thru 31 of 2017.  There's also a beautiful paper pack and scrapbook kit too.  Scroll to the bottom to see more.  In the meantime, here's a step by step tutorial.

There's 2 ways to cut your paper for this.  Many people start with a colored cardstock base and build up.

Not me.  I used a card base. I like my version because it uses less paper and there's more of the stamped image visible.  My upline & friend Michele Rowley showed me this trick of using less paper a few years back.  I've hung on to her card for years and recently put it in a safe place.  Of course that means I can't find it.  But I'm pretty sure the dimensions are the same.

White cardstock 
5.5 x 4.25 (or card base)
4.5 x 3.25
3.5 x 2.25

Notice how each one is 1" smaller?  That is key.  Knowing this, you can make a card of any dimension.  Square ones would be beautiful.

Now the colored cardstock/glitter paper.
The first one is .25" larger than the second layer of the white cardstock.
4.75 x 3.5
3.75 x 2.5. I used glitter paper on this layer.  It is also 1" smaller than the cardstock layer above it.

Now for the fun!

Set the colored cardstock side and grab some temporary adhesive.  Don't have any? Use a 1/4" of tape runner and rub your finger on it to lose most of its stickiness.

You'll be tacking the layers down temporarily.   Use just a tiny bit in the middle of each card.  I'm serious.  A half inch line of adhesive will be plenty.

Stack your 3 white cardstock layers.  Centering them as they'll be when finished.  Some people will tilt their pieces.  Let's stick to simple and centered today.

Let's start stamping.  I like to use fairly large and solid stamps for a project like this.  You'll be pressing hard.  Like doing CPR.  Baby stamps, like infants won't hold up under full chest commissions.


Stamp the flowers in a triangle configuration.  This looks random and natural.  I missed taking a pic of this until a step or two later. (see below)

I stamp on a solid surface with a piece if foam under the cardstock.  I use a scratch piece of paper to protect the foam from ink.  Foam doesn't soak up ink.  It will smear all over the next thing it touches.

Now check on the size of the gap between the layers.  It's ok to have a little. The cardstock will cover some of it.  If there's a large gap, press down again.  That's the beauty of clear blocks!  The area on the left had too much of a gap.  The light area is the ink still on the stamp that hasn't been transferred to the paper.  I pressed on the stamp again and it applied more ink to the card. (see next pic)


After stamping the 3 flowers, I needed to stamp the leaves.  I stamped a mask in a Post-it note and trimmed it out.  I was making a bunch of these cards so I made 3 masks and labeled them. I forgot to move the mask and stamped a stem across the flower accidentally.


Be sure to go across layers and off of the edge of the card.  White space is wonderful.  You don't need to fill every bit of the white paper.


The last thing I stamped was the sentiment.  I didn't stamp across layers for this.  I also didn't press hard because it would blur the image.

Next I pulled the 3 layers apart and rebuilt my card with the cardstock and glitter paper added back in.  I know that my papers are centered but I also paid attention to how the pattern lined up. I used glue dots to adhere the top layer to the glitter paper.  Glitter paper is rough and doesn't bond with a flat adhesive that well.


This is a fun and very flat card that mails beautifully.  Your friends will be impressed by your stamping prowess.  You don't have to tell them our secret.  You can let them think you're an amazing meticulous stamper who is an expert at lining things up.

Supplies used
White Daisy Cardstock
Sea Glass Cardstock, Glitter Paper, & Exclusive Ink (available now thru July 31, 2017)
Tangerine Exclusive Ink
Memento Tuxedo Black ink
Live Beautifully Stamp Set (Available May 1-31, 2017)


Here's what the full stamp set looks like.


It coordinated with the paper pack that is also only available in May.


In addition, there's a scrapbook kit!  There's pre-cut embellishments and preprinted designs that look like you spent hours cutting and designing.  It includes 10 pages to make 5 double page layouts!  Each page will actually take only a few minutes to assemble.  This kit is available 5/1/2017.


With joy in my heart and coffee in my cup, have a wonderful day!