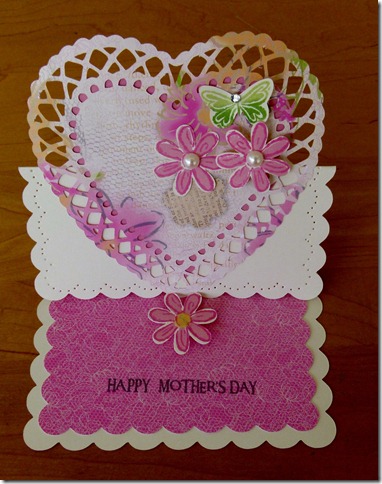
Last week’s Fun & Fabulous card workshop was a hit! This card was the highlight of the evening. And how great it was to send several girlfriends home with Mother’s Day cards before the end of April!
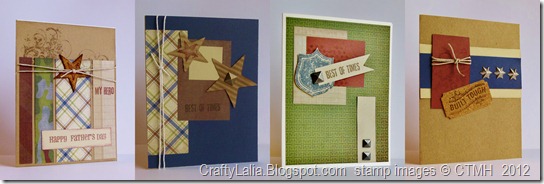
If you’re interested in my workshop kit for all 4 of last week’s cards, I will gladly put one together for you. It will be $10 with stamped images, $8 if you already have the stamps. I’ll be featuring the other cards in upcoming posts.

Have you ever heard of Pinterest? I have to mention it because I’m pretty sure that’s where I first saw this card. CTMH sister
Pam Klassen originally designed it as a Valentine and featured it on her blog.
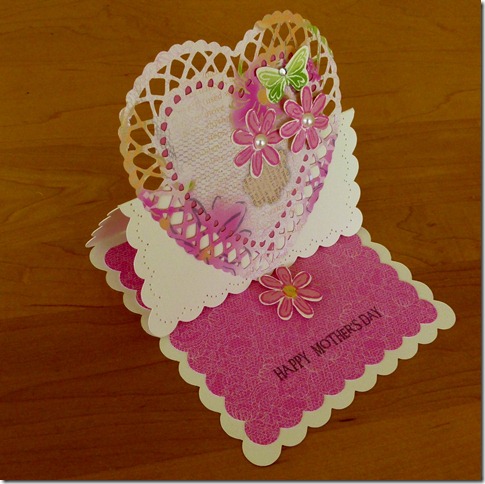
It’s an easel card which means that folds flat for mailing but stands up on it’s own for display. That cute little daisy in the middle of the card isn’t just there to look cute. It’s holding the whole card up!

Every bit of this card was cut on the Art Philosophy Cricut Cartridge that is exclusive to Close to My Heart. It’s just fabulous. The paper is from the Lucy paper pack. The flowers & butterfly are from the
Lucy Workshop on the Go. (Get this set now or never—they will only be available through July 31st and won’t be in the next Idea Book.) Happy Mother’s Day is from “
Say It in Style.” I think these are my two most used stamp sets I ever owned. Say it in Style was the first one I ever purchased about 3 years ago and it’s still my go to. And better yet, it’s still available.
I don’t know what sizes Pam cut her card at on the Cricut but here’s my recipe:
Updating to show page numbers. All cut from Art Philosophy (because that's all that was available)
- Scalloped Card 5.25” in Colonial White Row 2, Button 3 (CARD feature)
- Lace Heart (last button on keypad) 4.75” in Lucy Shift Row 5, Button 10 (Font Layer)
- Scalloped Square 4.75 in Lucy (Either 1/2 of a card or the scalloped square (Row 2 Button 3)
- Heart (behind lace one) 3.75” in Blush Shift Row 1, Button 6
- 3 Daisies 1.25” in Colonial White Shift Row 1, Button 9
- 1 Butterfly 0.75” in Colonial White Shift Row 3, Button 1
To make the card an easel, you add a second fold to the card front that’s parallel to the original one right in the middle of the front of the card. (see second picture) Then you’ll only adhere the lower half of the heart to the card so the top half of the heart will stick up.
For more info on easel cards see this tutorial called "4x4 Easel Card" by
Penny Wessenauer. There's 3-4 sheets of info. The top of the card can be any shape, just as long as it’s not bigger than the base.
Notice the bit of stitching around the edge? Before adhering it down to the inside of the card, I used the pink scalloped square. I held it down and followed its edge with my piercing tool.
Inks were
Blush & Cotton Candy for the flowers with Crème Brulee as the center
Sweet Leave with Topiary sponged on the bottom butterfly wings of the stamp
Grey Wool for the sentiment.
Hope you’re inspired for a Mother’s Day card! It’s just 11 days away.
UPDATE: here's some little images you can use as stickers for the back of your cards so the recipient knows how to open and display the easel card. They were created by Penny Wessenauer who has shared tons of tutorials via her
Photobucket Albums. I'm looking forward to creating more of her projects and posting them here.
Go here to
download or print. (They'll print pretty nicely directly from the browser window


